
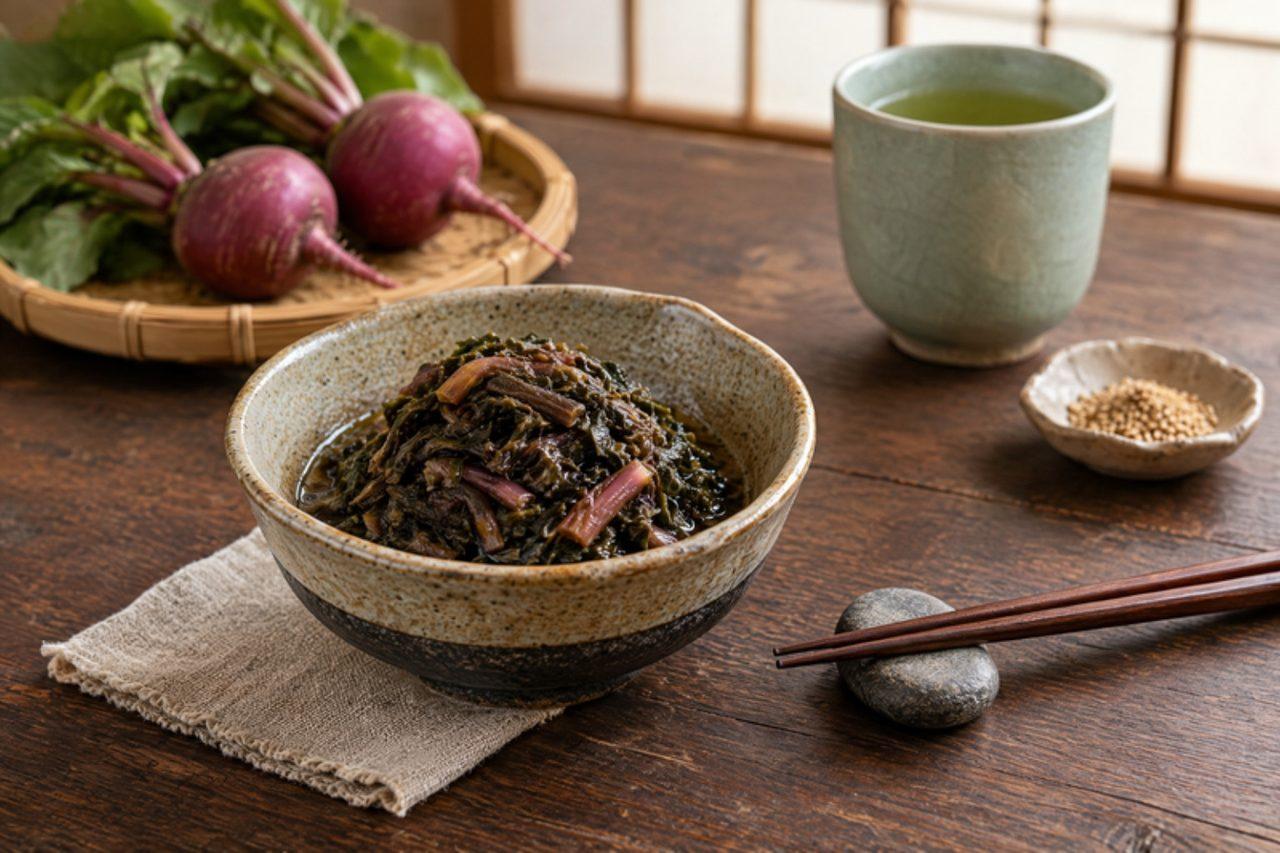
AI-generated image
Sunki
Fermented turnip greens
すんき: Kiso's salt-free sour turnip greens, fermented in hot water with last year's sunki as the starter, for winter soba



Sunki belongs to the high Kiso valley in Nagano, where salt was once too precious to spend on pickles. After the first frosts in November, villagers blanch the leaves and stalks of the red Otaki turnip, layer them in a wooden tub with a handful of last year's dried or frozen sunki as starter, and keep the tub wrapped and warm overnight so lactic bacteria take over. The result is completely unsalted, fiercely sour and earthy, with soft leaves in a rosy brine; it goes on hot soba as sunki soba, into miso soup and over rice. Because there is no salt to protect it, sourness is the only safety: it must become clearly sour within 2 days, and it must stay cold after that. If you have no sunki starter, use 100 ml brine from a live, unpasteurised sauerkraut (a little salt, but a reliable start). The common mistake is blanching with boiling water, which kills everything; the water should be about 70 °C. Normal signs are a pink brine, fine bubbles and a clean sour, yoghurt-like smell; bad signs are fuzzy mould, slime or a putrid smell, which mean discard. Chef's tip: freeze the finished sunki in small portions; it keeps its sourness and you keep a starter for next year.
- Total time
- 50 min
- Difficulty
- medium
- Serves
- 8
Ingredients
For the sunki
- 2 ¼ lb red turnip greensleaves and stalks of red turnips; or ordinary turnip greens with a few red radish leaves
- 8 ¼ cups waterheated to about 70 °C
- 3 ½ oz sunki starterfrozen or dried sunki from a previous batch, or 100 ml unpasteurised sauerkraut brine
Shop this recipe on Amazon
Spices & pantry
Links open Amazon in a new tab. As an Amazon Associate, WhatToEat.Today earns from qualifying purchases.
Method
0/7 doneStep 1: Clean the jar or container and lid: wash in hot soapy water, rinse, then dry in a 250°F oven for 10 minutes (or pour boiling water over and in it and air-dry upside down). Let it cool; it must be completely dry. Use a container with a lid that holds about 2 litres.
Step 2: Wash the 2 ¼ lb red turnip greens well and cut into 3 cm pieces. Keep any small red roots, sliced thinly.
15 minStep 3: Heat the 8 ¼ cups water to about 158°F (steaming, with small bubbles on the bottom, not boiling). Dip the greens in batches for 10–15 seconds, until just wilted and bright, and lift them out. Keep the blanching water hot.
10 minStep 4: Layer the hot greens in the container with the 3 ½ oz sunki starter scattered between the layers. Pour over enough of the hot blanching water to cover, press down, and lay cling film directly on top.
5 minStep 5: Close the lid, wrap the container in towels or a blanket and leave it somewhere warm (25–95°F) overnight, about 12 hours.
Step 6: The next day it should smell clearly sour and the brine should turn faintly pink and cloudy. If it is not distinctly sour after 2 days in the warm, throw it away and start again with a fresh starter.
Step 7: Move it to the fridge. Keeps 2 weeks; freeze portions for longer. Normal: bubbles, cloudy pink brine, sour smell, a flat white film you can skim. Bad: fuzzy blue, green, pink or black mould, slime, a putrid smell; discard. Serve chopped on hot soba or in miso soup.
Nutrition per serving
- Calories
- 15 kcal
- Protein
- 2 g
- Carbs
- 2 g
- Fat
- 0 g
- Fibre
- 2 g
Nutrition values are estimates.
KrazyBadal
Good to know
- How long does sunki take?
- About 50 minutes in total: 40 minutes to prepare and 10 minutes to cook.
- How many people does it serve?
- 8 as written. Change the servings above the ingredients and every amount scales to match.
- Is it vegan?
- Yes. It has no meat, fish, dairy or eggs.
- Is it gluten free?
- Yes, as written. Check the labels on stock, sauces and spice mixes, which sometimes contain gluten.
- Can I make it ahead?
- Yes. It keeps well, so you can cook it earlier in the day or the day before and reheat it.
Reviews
No reviews yet. Be the first to cook it.
Rate this recipe
Sign in to rate and review this recipe.
You might also like
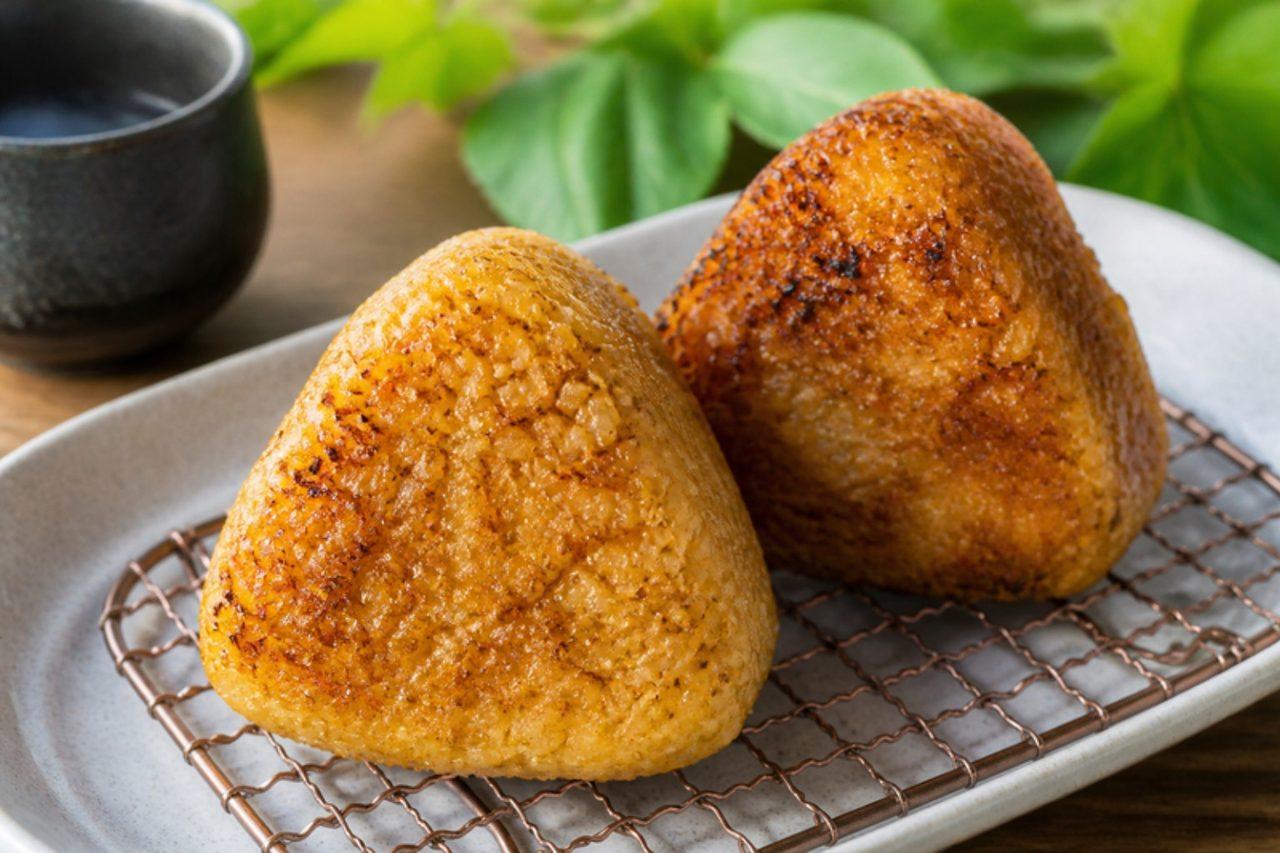
Yaki onigiriGrilled rice balls
Yaki onigiri (焼きおにぎり) are rice balls grilled until they form a crisp, toasty crust, then brushed with soy sauce glaze. They are eaten all over Japan, at izakaya, at barbecues and from the freezer section, as a snack or with miso soup. The inside stays soft and steamy while the outside crackles. Best eaten hot, straight from the pan. Chef's tip: let the shaped rice balls dry for 10 minutes before they go in the pan. A drier surface forms a better crust and won't stick, and the glaze goes on only at the end so it doesn't burn.

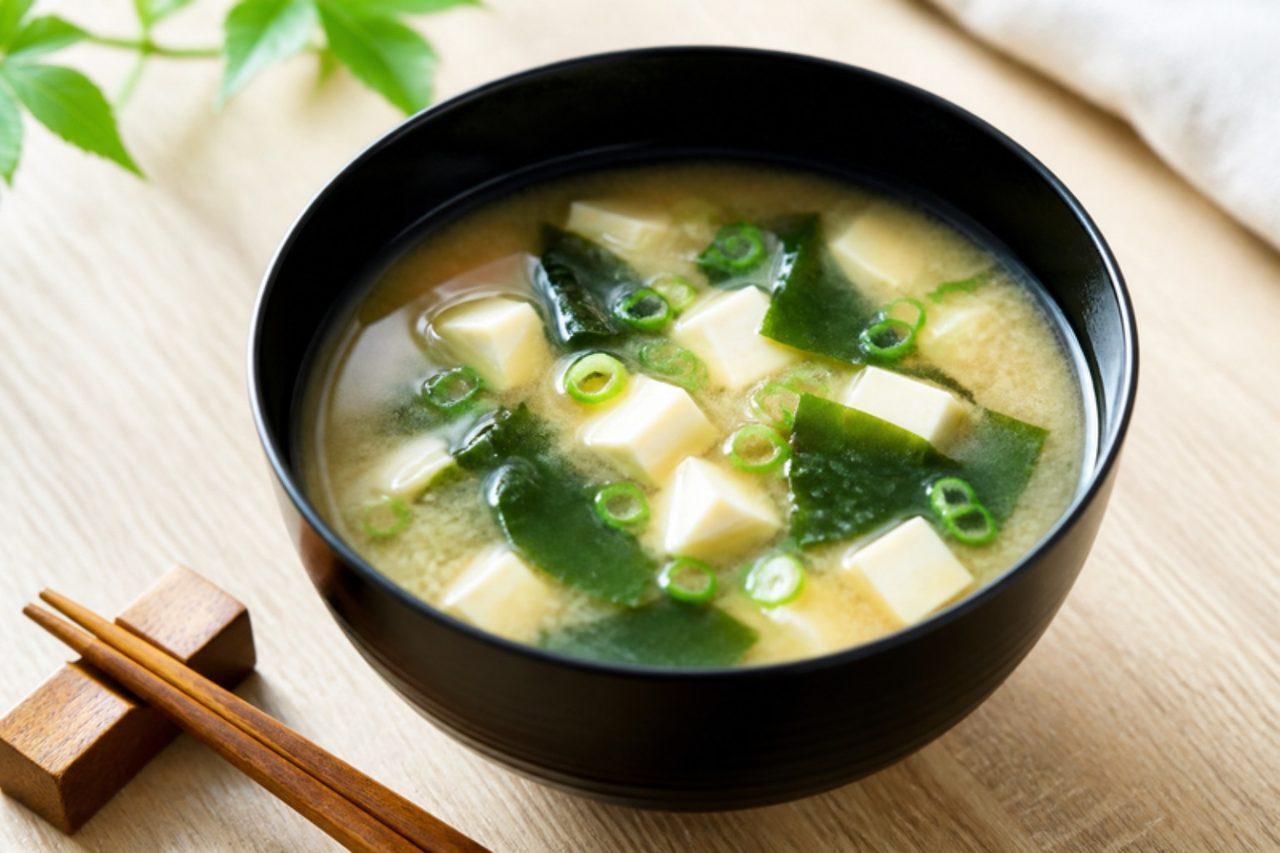
Miso soup
Miso soup (味噌汁) is drunk every day in homes all over Japan, at breakfast as well as dinner, beside a bowl of rice. The base is dashi; this vegan version uses kombu and dried shiitake instead of bonito, which gives it a deep, rounded flavour. Silken tofu and wakame seaweed are the classic fillings. It takes ten minutes; just remember not to boil the miso. Chef's tip: add the miso at the very end and never let it boil. Boiling kills the miso's fresh, fermented aroma; Japanese cooks say the soup should only 'smile', with the surface barely trembling.
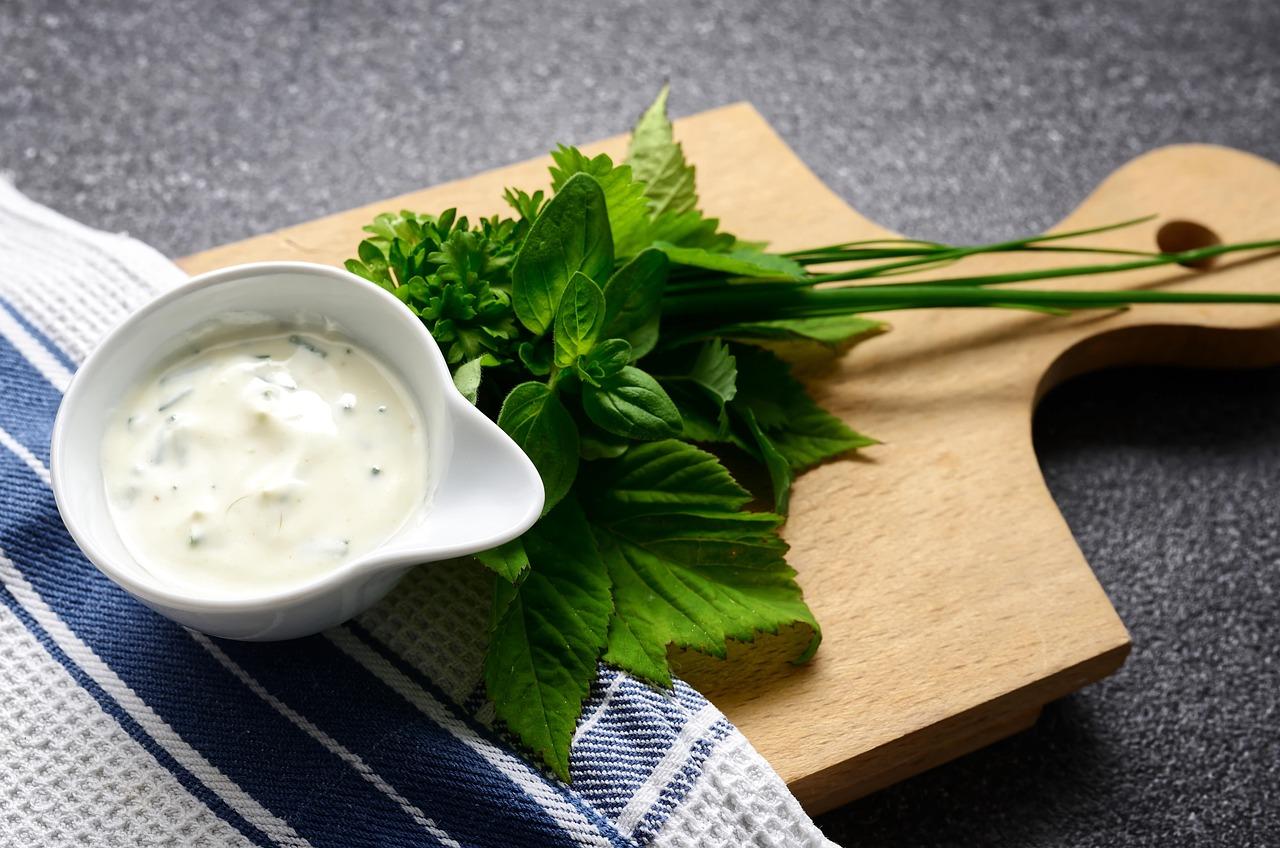
Sour cream dip
A simple, tangy dip made with thick home-made cottage cheese (hung yogurt) or ready-made sour cream, seasoned with garlic, chilli, black pepper and vinegar. Serve it cold with crisps, nachos and jacket potatoes. The book's other dips use this as their 'sour cream'.
