
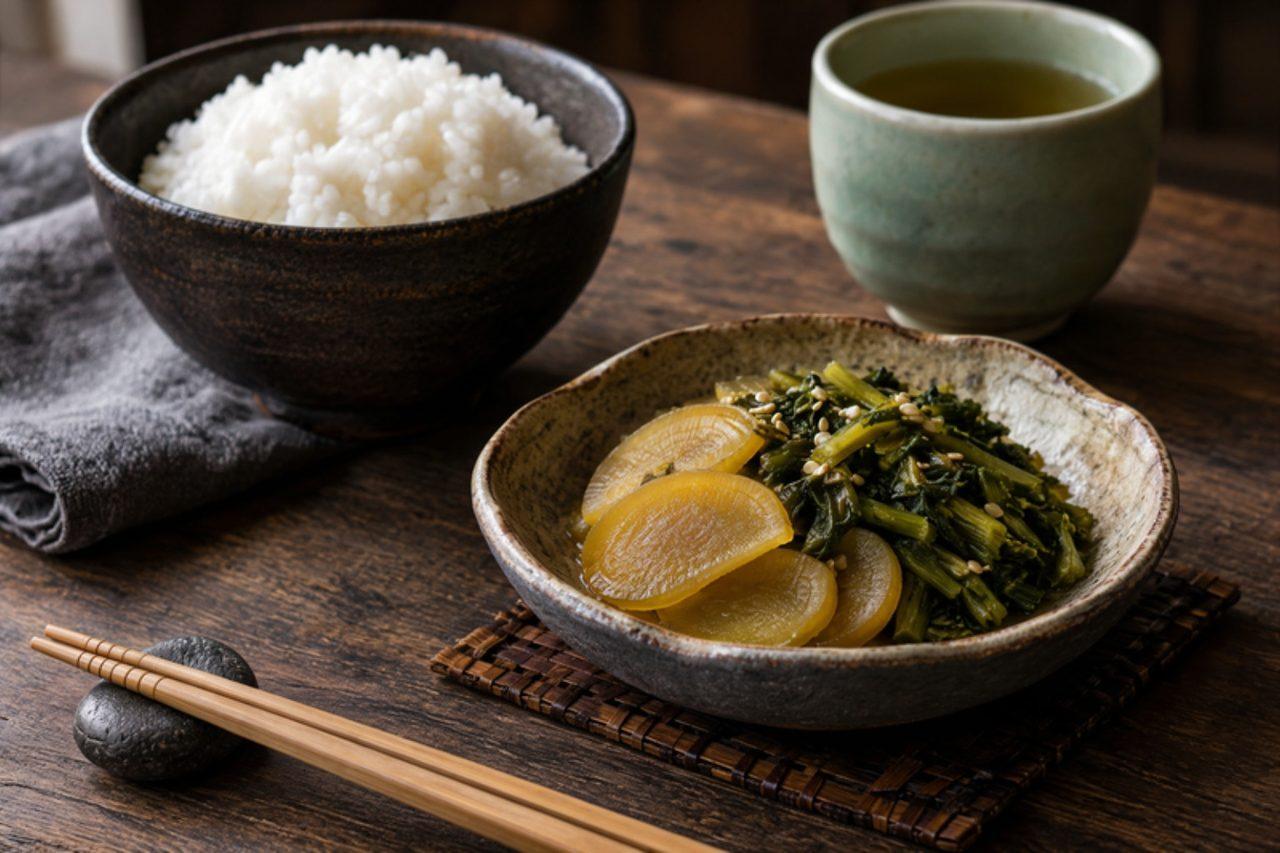
AI-generated image
Suguki
Fermented turnip pickle
すぐき: Kamigamo's sour winter turnip, salt-pressed under a beam then warm-fermented until tangy and amber-green



Suguki comes from the farms around Kamigamo Shrine in north Kyoto, where an heirloom turnip with a pointed root has been grown for centuries. In late autumn the farmers peel the roots, salt them with their leaves, and press them under long wooden beams weighted with stones, then move the barrels into a heated room so lactic bacteria turn the pickle properly sour. It reaches the shops in December and is sliced thin through the New Year, eaten with plain rice, in ochazuke or beside a simmering pot of tofu. Expect a bright, yoghurt-like sourness, a little salt and a turnip that is firm but yielding. At home a 30–35 °C spot (an oven with only the light on, or a proving setting) stands in for the warm room; use small turnips with leaves attached. The common mistake is fermenting with too little weight: the brine must rise above the vegetables within a day, or the top dries out and moulds. Normal signs are fine bubbles, cloudy brine and a clean sour smell; a thin white film (kahm yeast) can be skimmed. Chef's tip: slice it thin, add a few drops of soy sauce and a pinch of shichimi, and serve it cold.
- Total time
- 45 min
- Difficulty
- medium
- Serves
- 10
Ingredients
For the pickle
- 2 ¼ lb small turnips with leavessuguki turnip if you can get it; otherwise small white turnips with fresh tops
- 1 ⅜ oz coarse sea salt4% of the vegetable weight, for the first pressing
- ½ oz coarse sea saltfor the second pressing
To serve
- 1 tsp tamari (optional)a few drops per serving
- 1 pinch shichimi togarashi (optional)
Shop this recipe on Amazon
Spices & pantry
Links open Amazon in a new tab. As an Amazon Associate, WhatToEat.Today earns from qualifying purchases.
Method
0/8 doneStep 1: Clean the jar or container and lid: wash in hot soapy water, rinse, then dry in a 250°F oven for 10 minutes (or pour boiling water over and in it and air-dry upside down). Let it cool; it must be completely dry.
Step 2: Wash the 2 ¼ lb small turnips with leaves well, especially where leaves meet root. Peel the roots thinly in long strokes, leaving the leaves attached. Halve large roots lengthways through the leaves.
15 minStep 3: Rub the turnips, roots and leaves, with 1 ⅜ oz coarse sea salt and pack them tightly in a container that only just fits them. Lay a plate or lid on top and weigh it down with about twice their weight (2 kg; bags of water or a filled pan work). Leave in a cool place (10–59°F) for 2–3 days, until brine has risen above the turnips and the leaves are dark and limp.
10 minStep 4: Lift out the turnips, pour off the brine and rinse the container. Repack the turnips, sprinkling ½ oz coarse sea salt between the layers, fold the leaves over the top, cover with cling film pressed onto the surface, and weigh down again with the same weight.
10 minStep 5: Ferment in a warm place at 30–95°F for 5–7 days. Check daily: the brine must cover the turnips. It is ready when the brine is cloudy, tiny bubbles rise when you press, and it smells clean and sour like yoghurt; the roots turn pale amber-green and taste distinctly tangy.
Step 6: Normal: bubbles, cloudy brine, sour smell, a flat white film you can skim off. Bad: fuzzy blue, green, pink or black mould, a putrid smell or slimy turnips; throw the whole batch away if you see these.
Step 7: Move the pickle, in its brine, to a clean jar and refrigerate. It keeps about 1 month, getting sourer. Use clean chopsticks each time.
Step 8: To serve, slice roots and leaves thinly and season with 1 tsp tamari and 1 pinch shichimi togarashi if you like.
Nutrition per serving
- Calories
- 15 kcal
- Protein
- 1 g
- Carbs
- 3 g
- Fat
- 0 g
- Fibre
- 2 g
Nutrition values are estimates.
KrazyBadal
Good to know
- How long does suguki take?
- About 45 minutes in total.
- How many people does it serve?
- 10 as written. Change the servings above the ingredients and every amount scales to match.
- Is it vegan?
- Yes. It has no meat, fish, dairy or eggs.
- Is it gluten free?
- Yes, as written. Check the labels on stock, sauces and spice mixes, which sometimes contain gluten.
- Can I make it ahead?
- Yes. It keeps well, so you can cook it earlier in the day or the day before and reheat it.
Reviews
No reviews yet. Be the first to cook it.
Rate this recipe
Sign in to rate and review this recipe.
You might also like
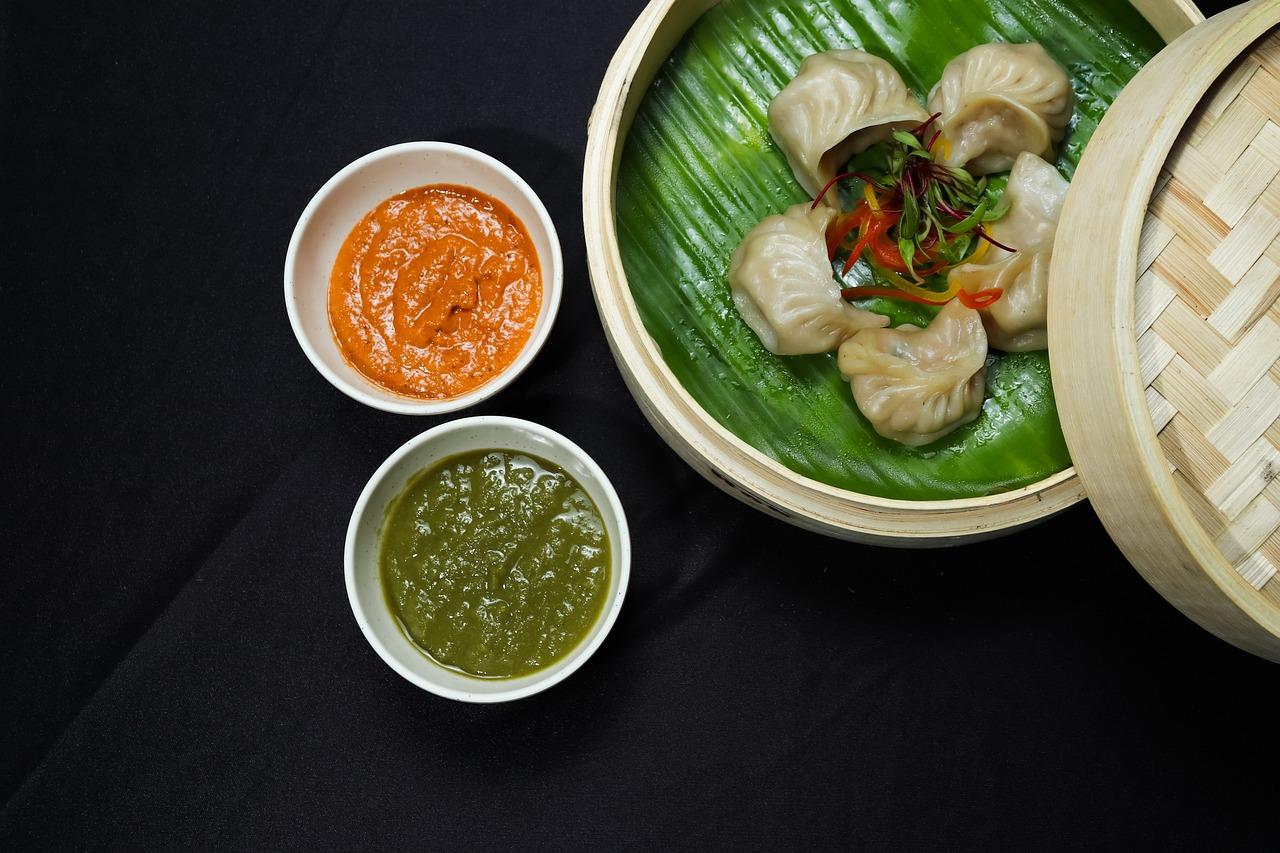
Mint and onion chutney
Onions fried gently until soft and sweet, then blended with fresh mint, green chilli and lemon juice. It's a mellow, fresh-tasting chutney that is great with bhajias, samosas, kebabs and tikka, or spread in sandwiches.
 Indian


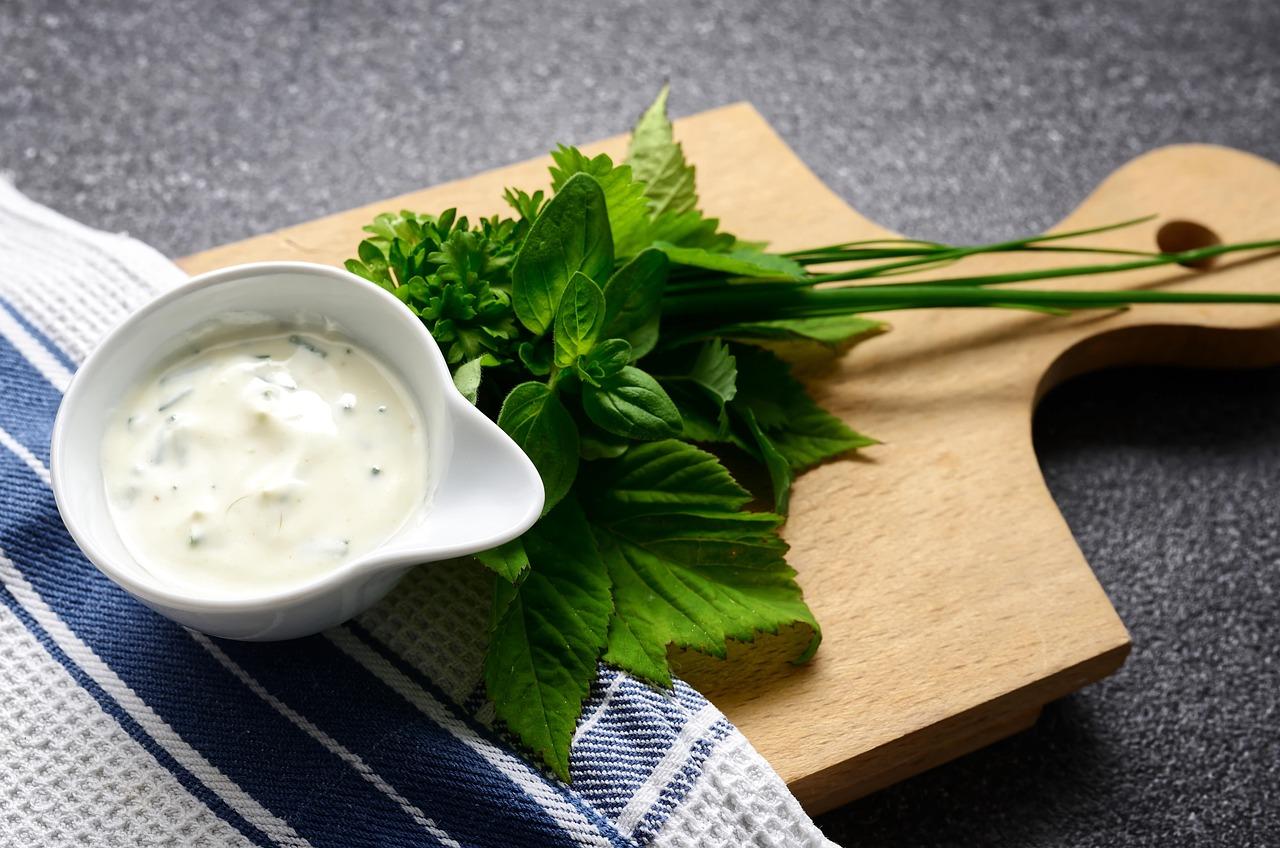
Sour cream dip
A simple, tangy dip made with thick home-made cottage cheese (hung yogurt) or ready-made sour cream, seasoned with garlic, chilli, black pepper and vinegar. Serve it cold with crisps, nachos and jacket potatoes. The book's other dips use this as their 'sour cream'.
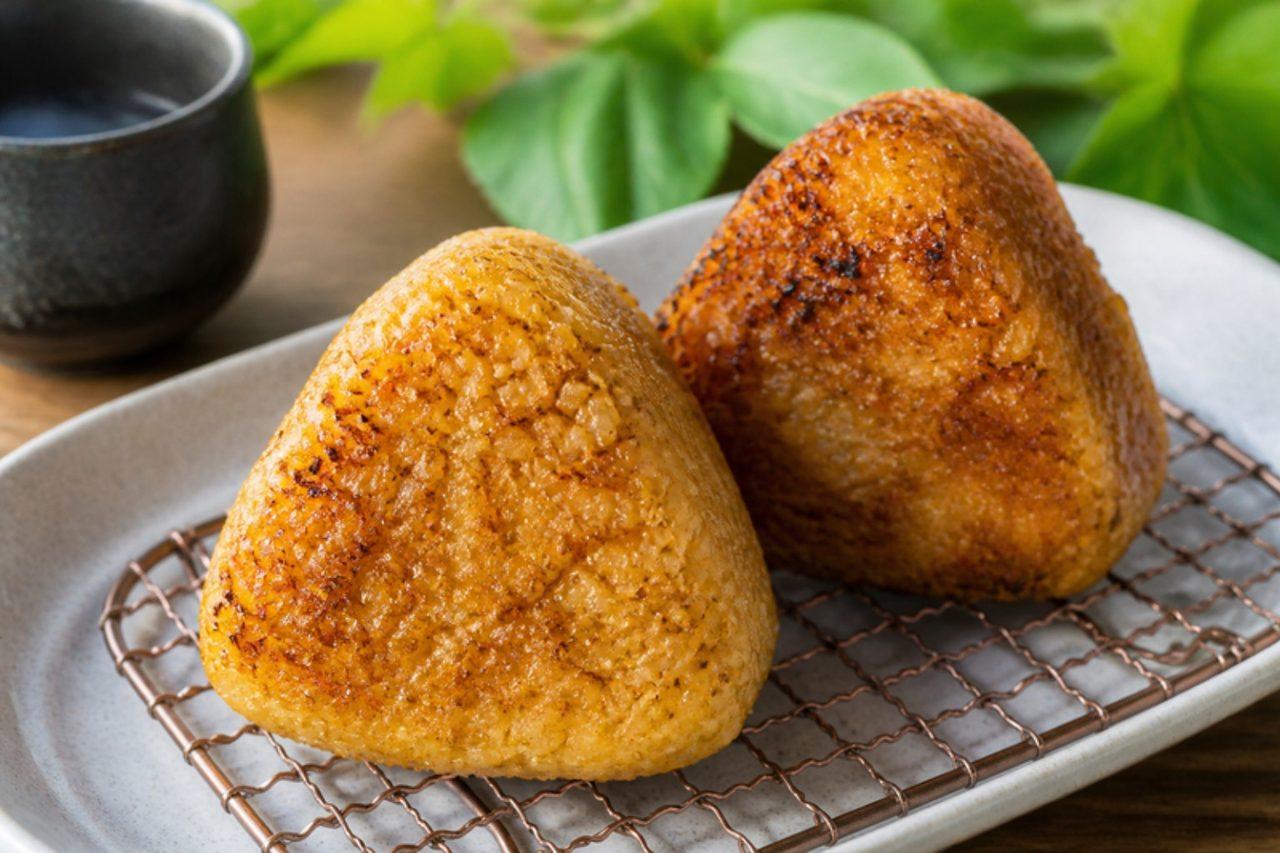
Yaki onigiriGrilled rice balls
Yaki onigiri (焼きおにぎり) are rice balls grilled until they form a crisp, toasty crust, then brushed with soy sauce glaze. They are eaten all over Japan, at izakaya, at barbecues and from the freezer section, as a snack or with miso soup. The inside stays soft and steamy while the outside crackles. Best eaten hot, straight from the pan. Chef's tip: let the shaped rice balls dry for 10 minutes before they go in the pan. A drier surface forms a better crust and won't stick, and the glaze goes on only at the end so it doesn't burn.